Showing posts with label spring. Show all posts

Wednesday, March 6, 2013

Weddings- Love Them or Hate Them?

Oh, March. The beginnings of the dreaded bridal season. I kid, I kid. But seriously...I used to hate going to weddings. I think the majority of them are pretty corny. Just being real, folks. The older I get, though the more I don't mind attending. Sometimes I actually want to go to my friends' hitchins but I can't because I live so far away. Anyway, I'll bet you have a bunch of weddings to attend or some presents to purchase for the bride-to-be. If you're out of gift ideas, consider this new, lovely Premium Warmer from Scentsy:


First comes love, then comes marriage, then comes baby in a baby carriage.

For the parents-to-be in your life, check out these precious customizable baby warmers:
For easy clicking, here's the blue one and here's the pink one.

As always, if you need to order any Scentsy, I'm your gal.

Love you. Mean it.

Friday, April 15, 2011

Spring crafts for young'uns and the young at heart

It's payday, which also means it's my designated Hobby Lobby day. If you follow me on Twitter, you may already know that it was a little touch and go there for awhile. The recent tornados in the area almost prevented this crafting day from even happening! That would have been a tragedy.

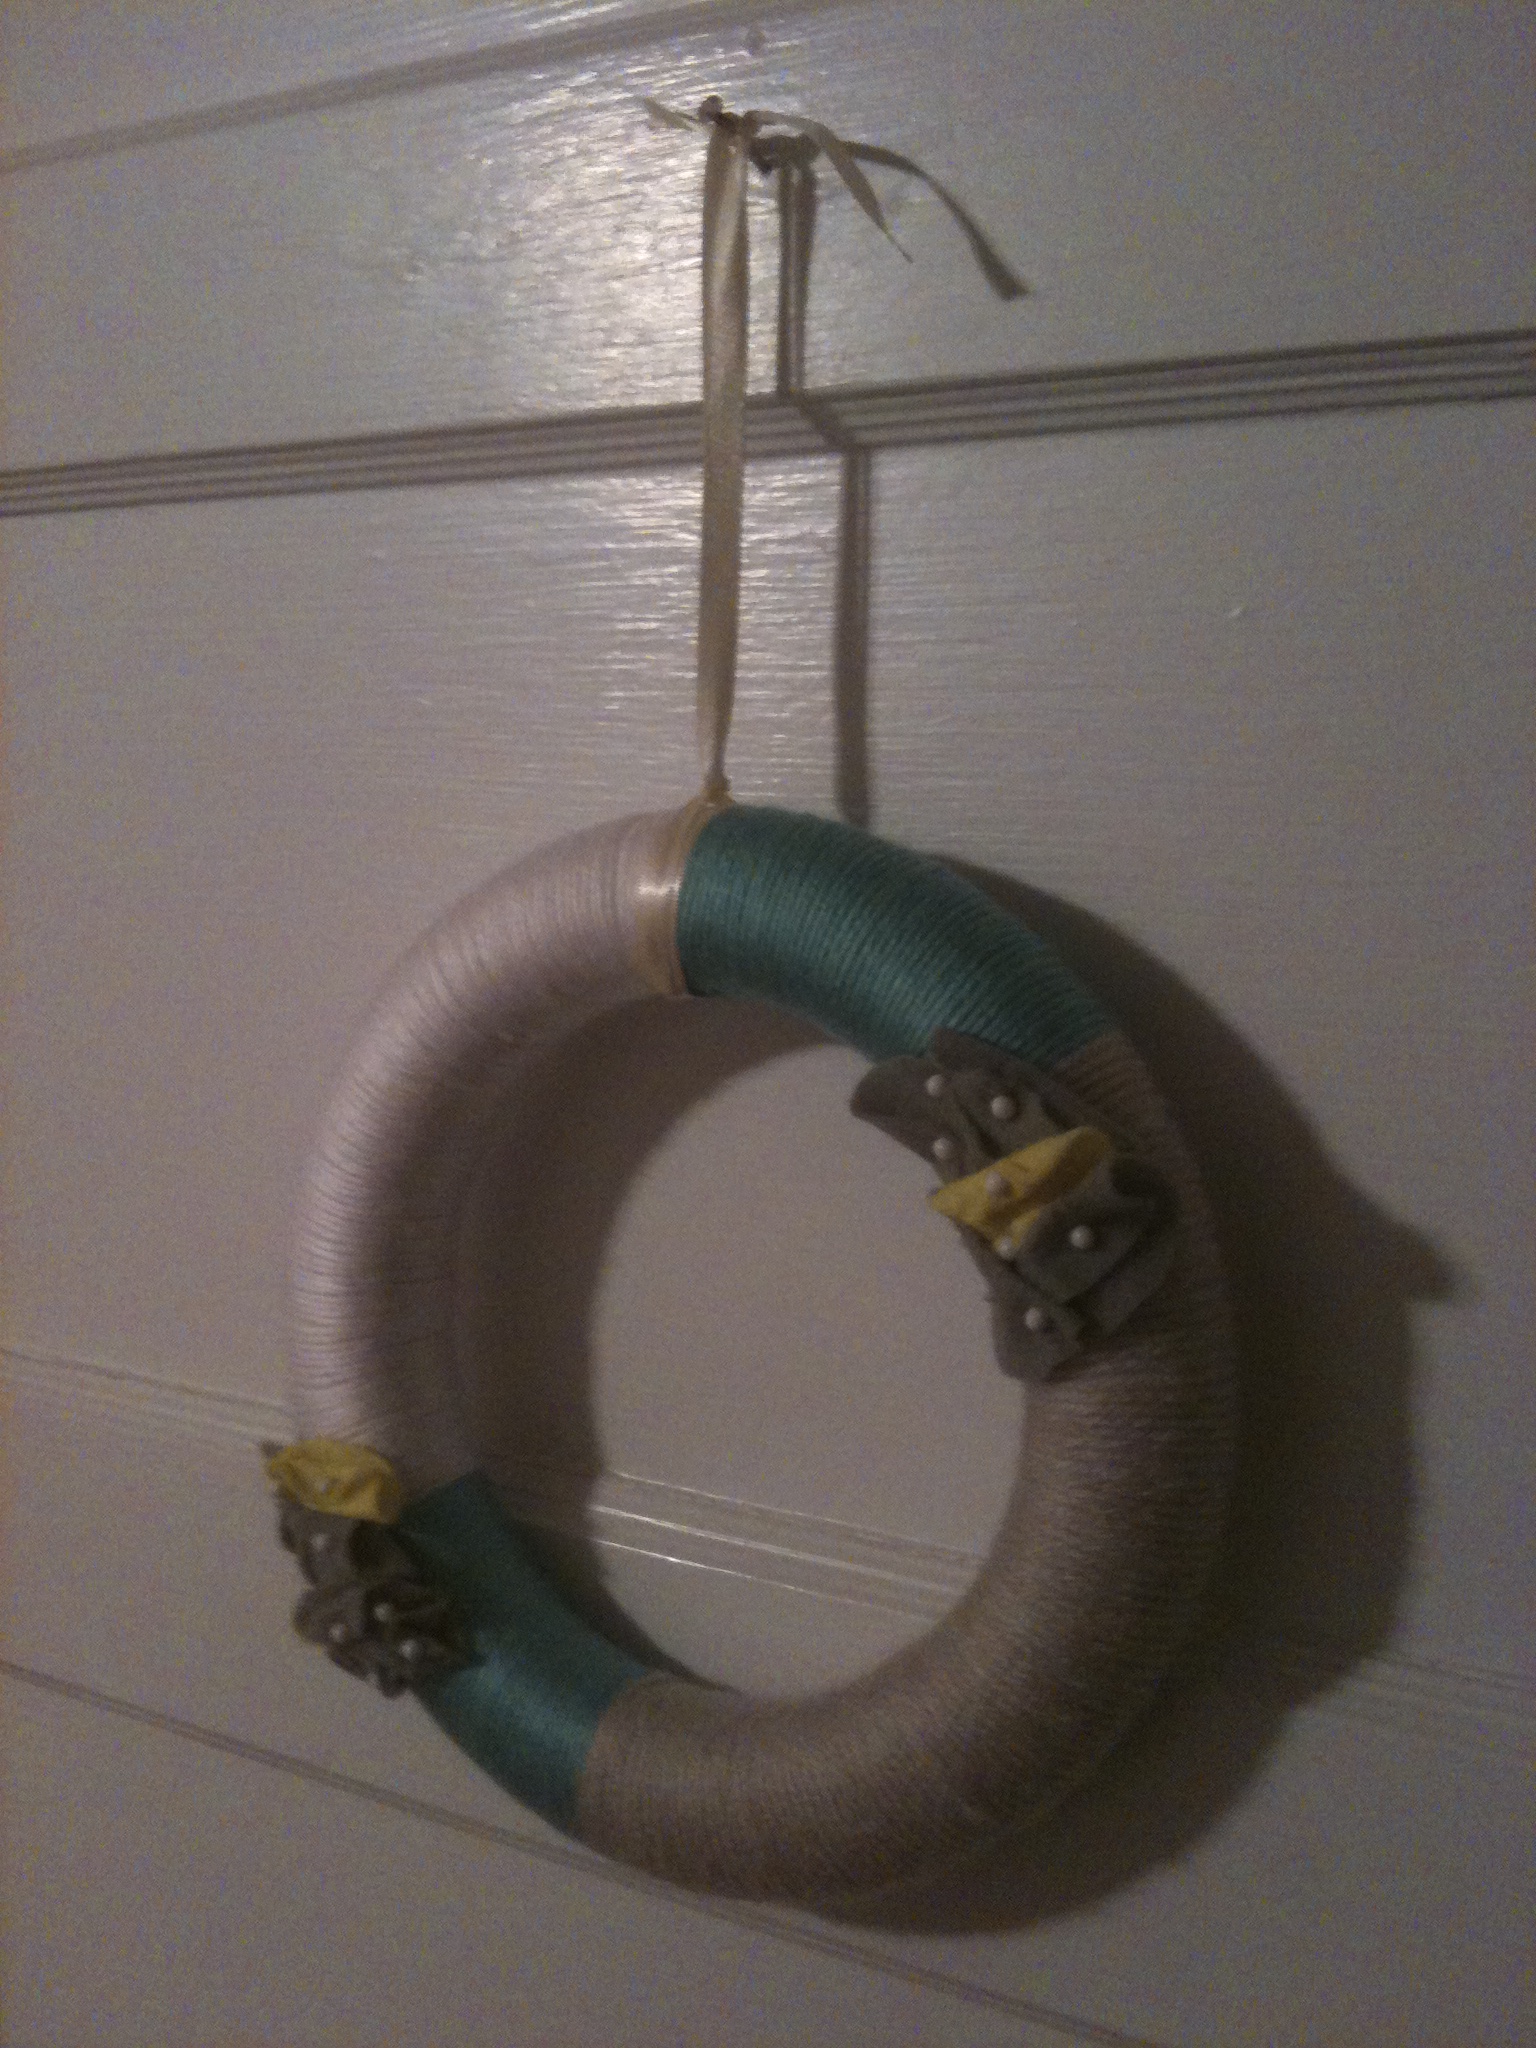
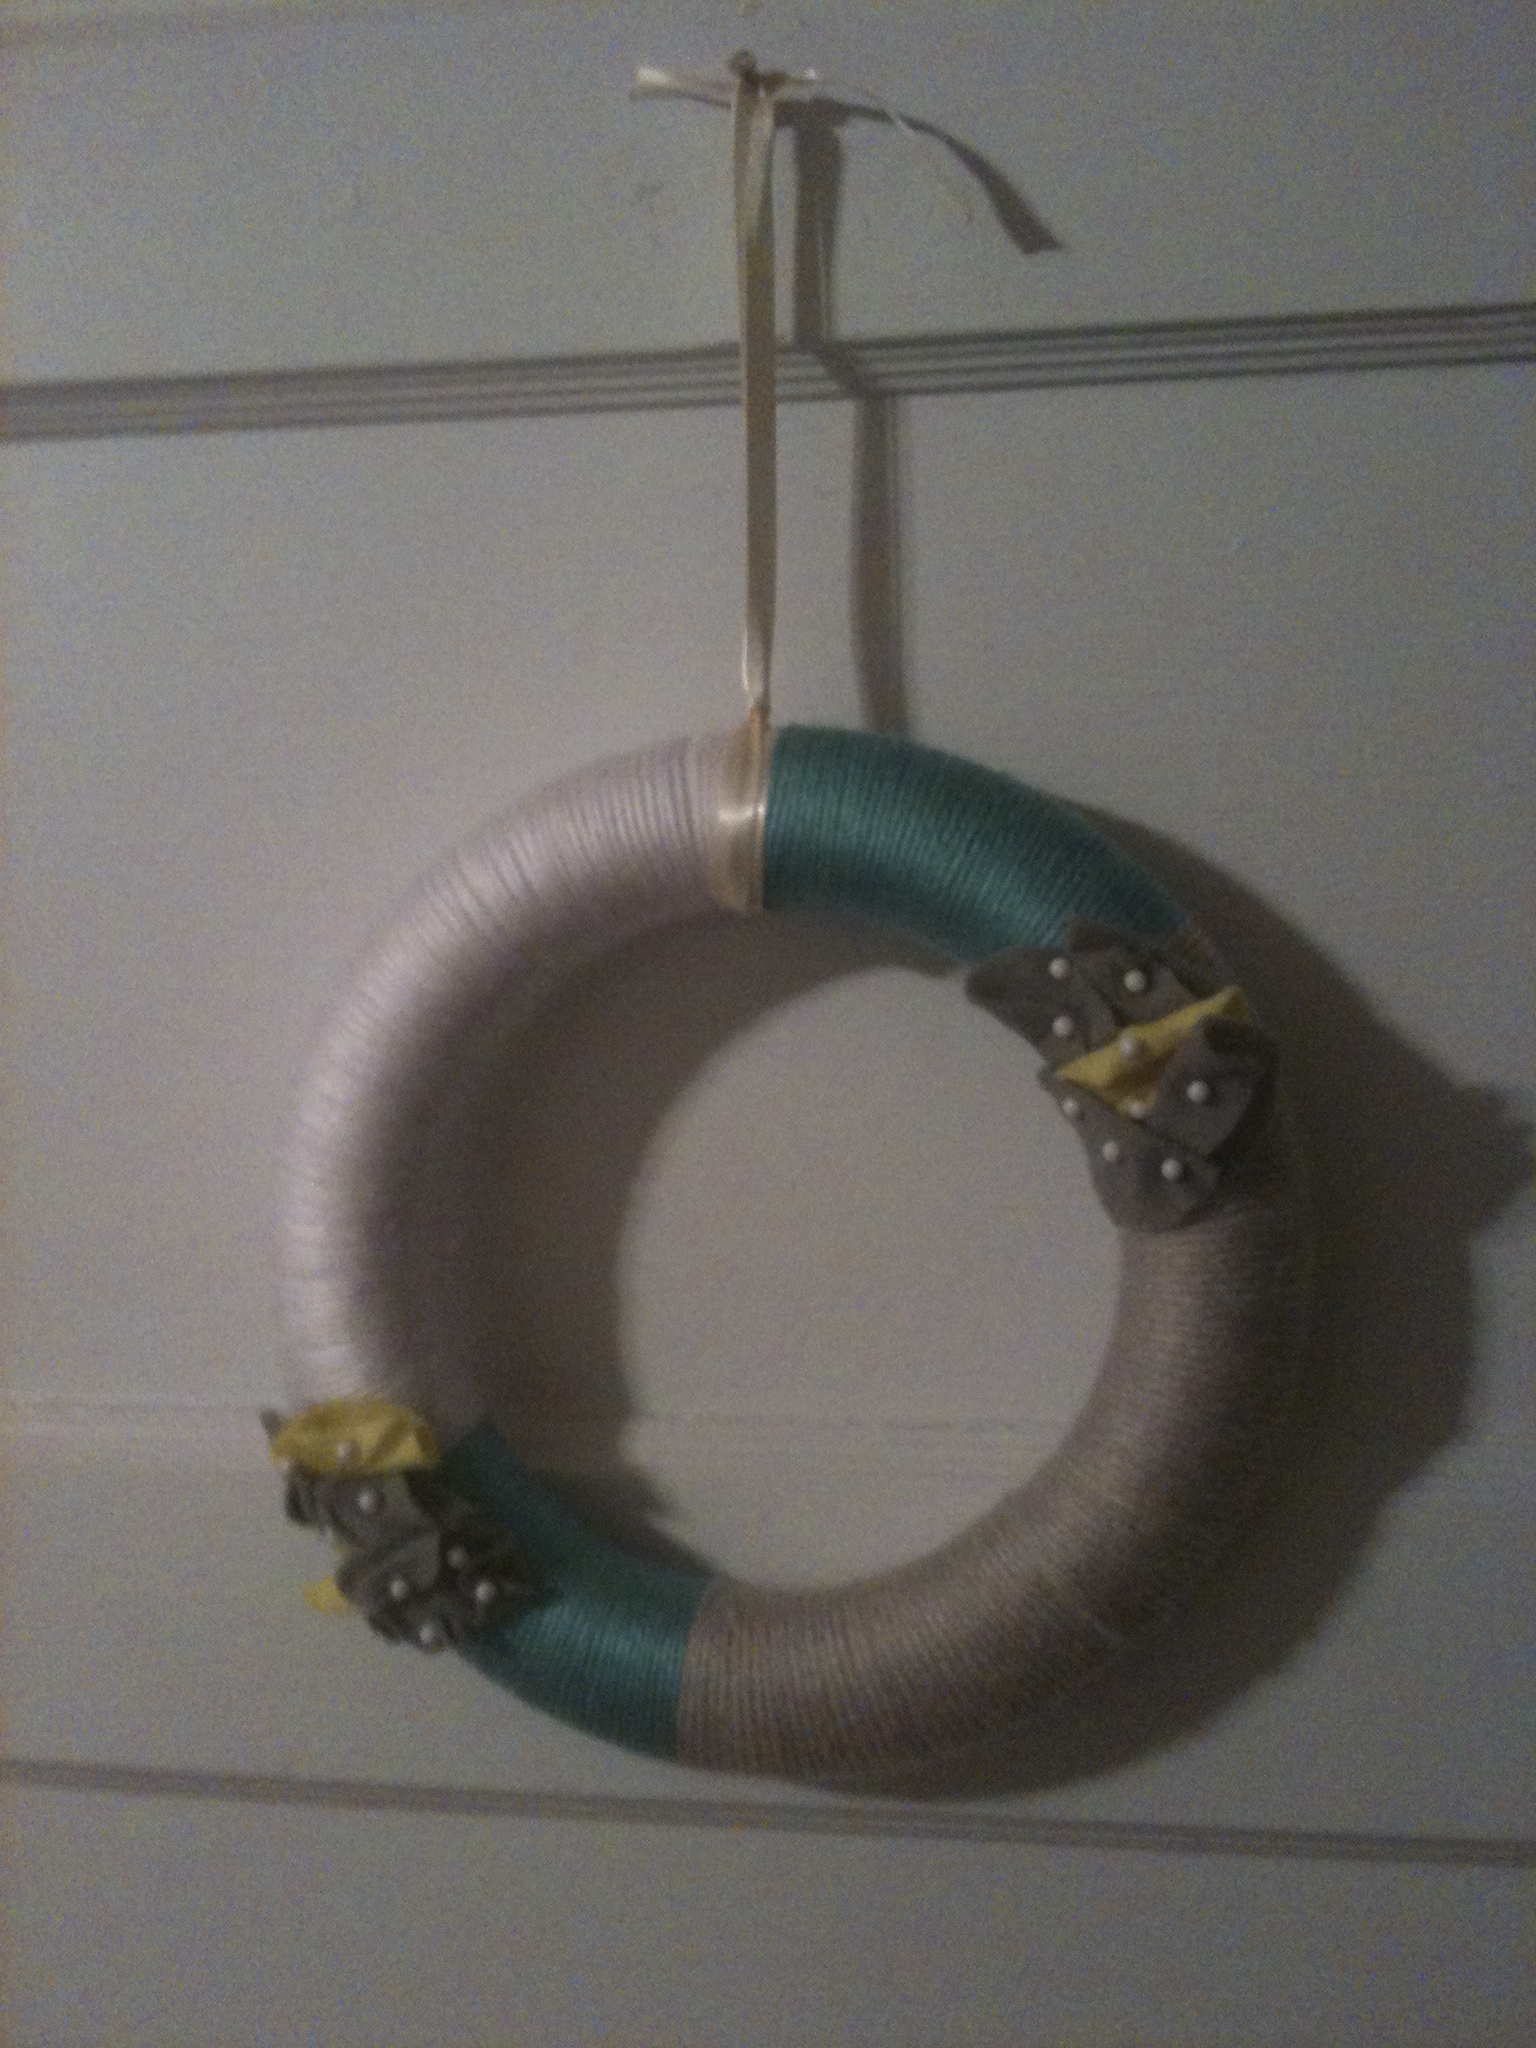
I made some super cute stuff!


I found the idea for this spring wreath here. Here's how you can make your own-

You'll need:

*a styrofoam wreath

*yarn

*push pins

*felt paper (I got four for $1, but I ended up using just two. You could easily skate by with one.)

*scissors

*ribbon


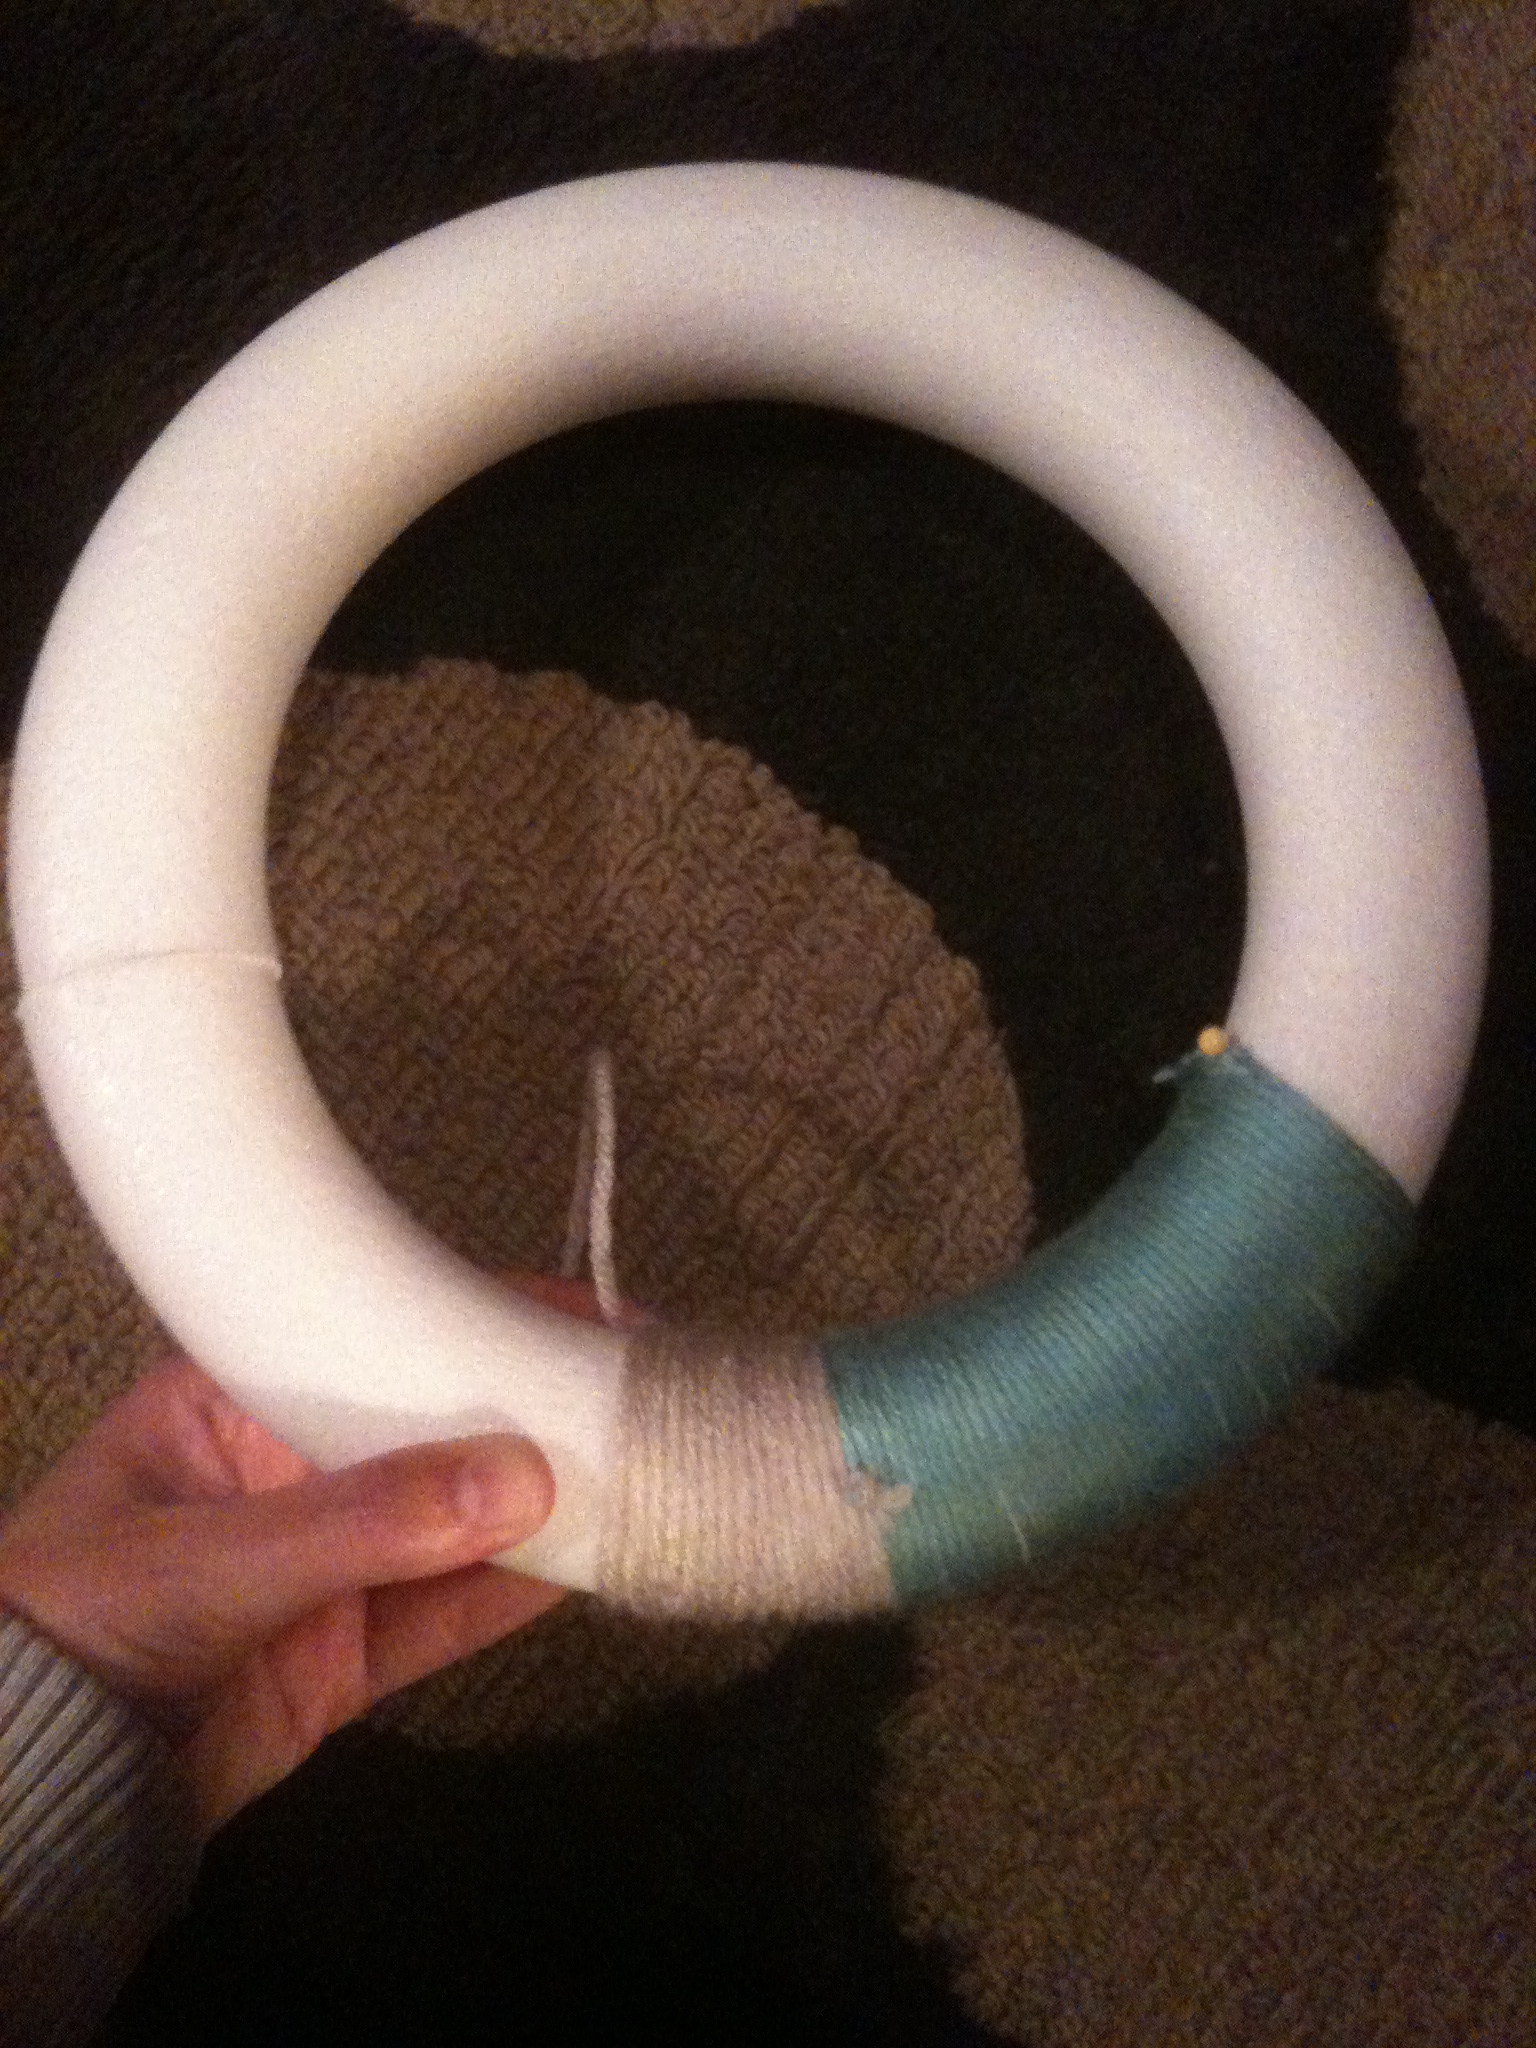
Step 1: Cut a long piece of yarn and tie a knot at the end of it. Secure the knot to the wreath by using a push pin. Don't worry about it showing, you can cover it with yarn as you wrap it around. If you'd like to switch colors of yarn or extend the color you're using, simply tie the fresh yarn onto the old piece and continue wrapping it around the wreath.

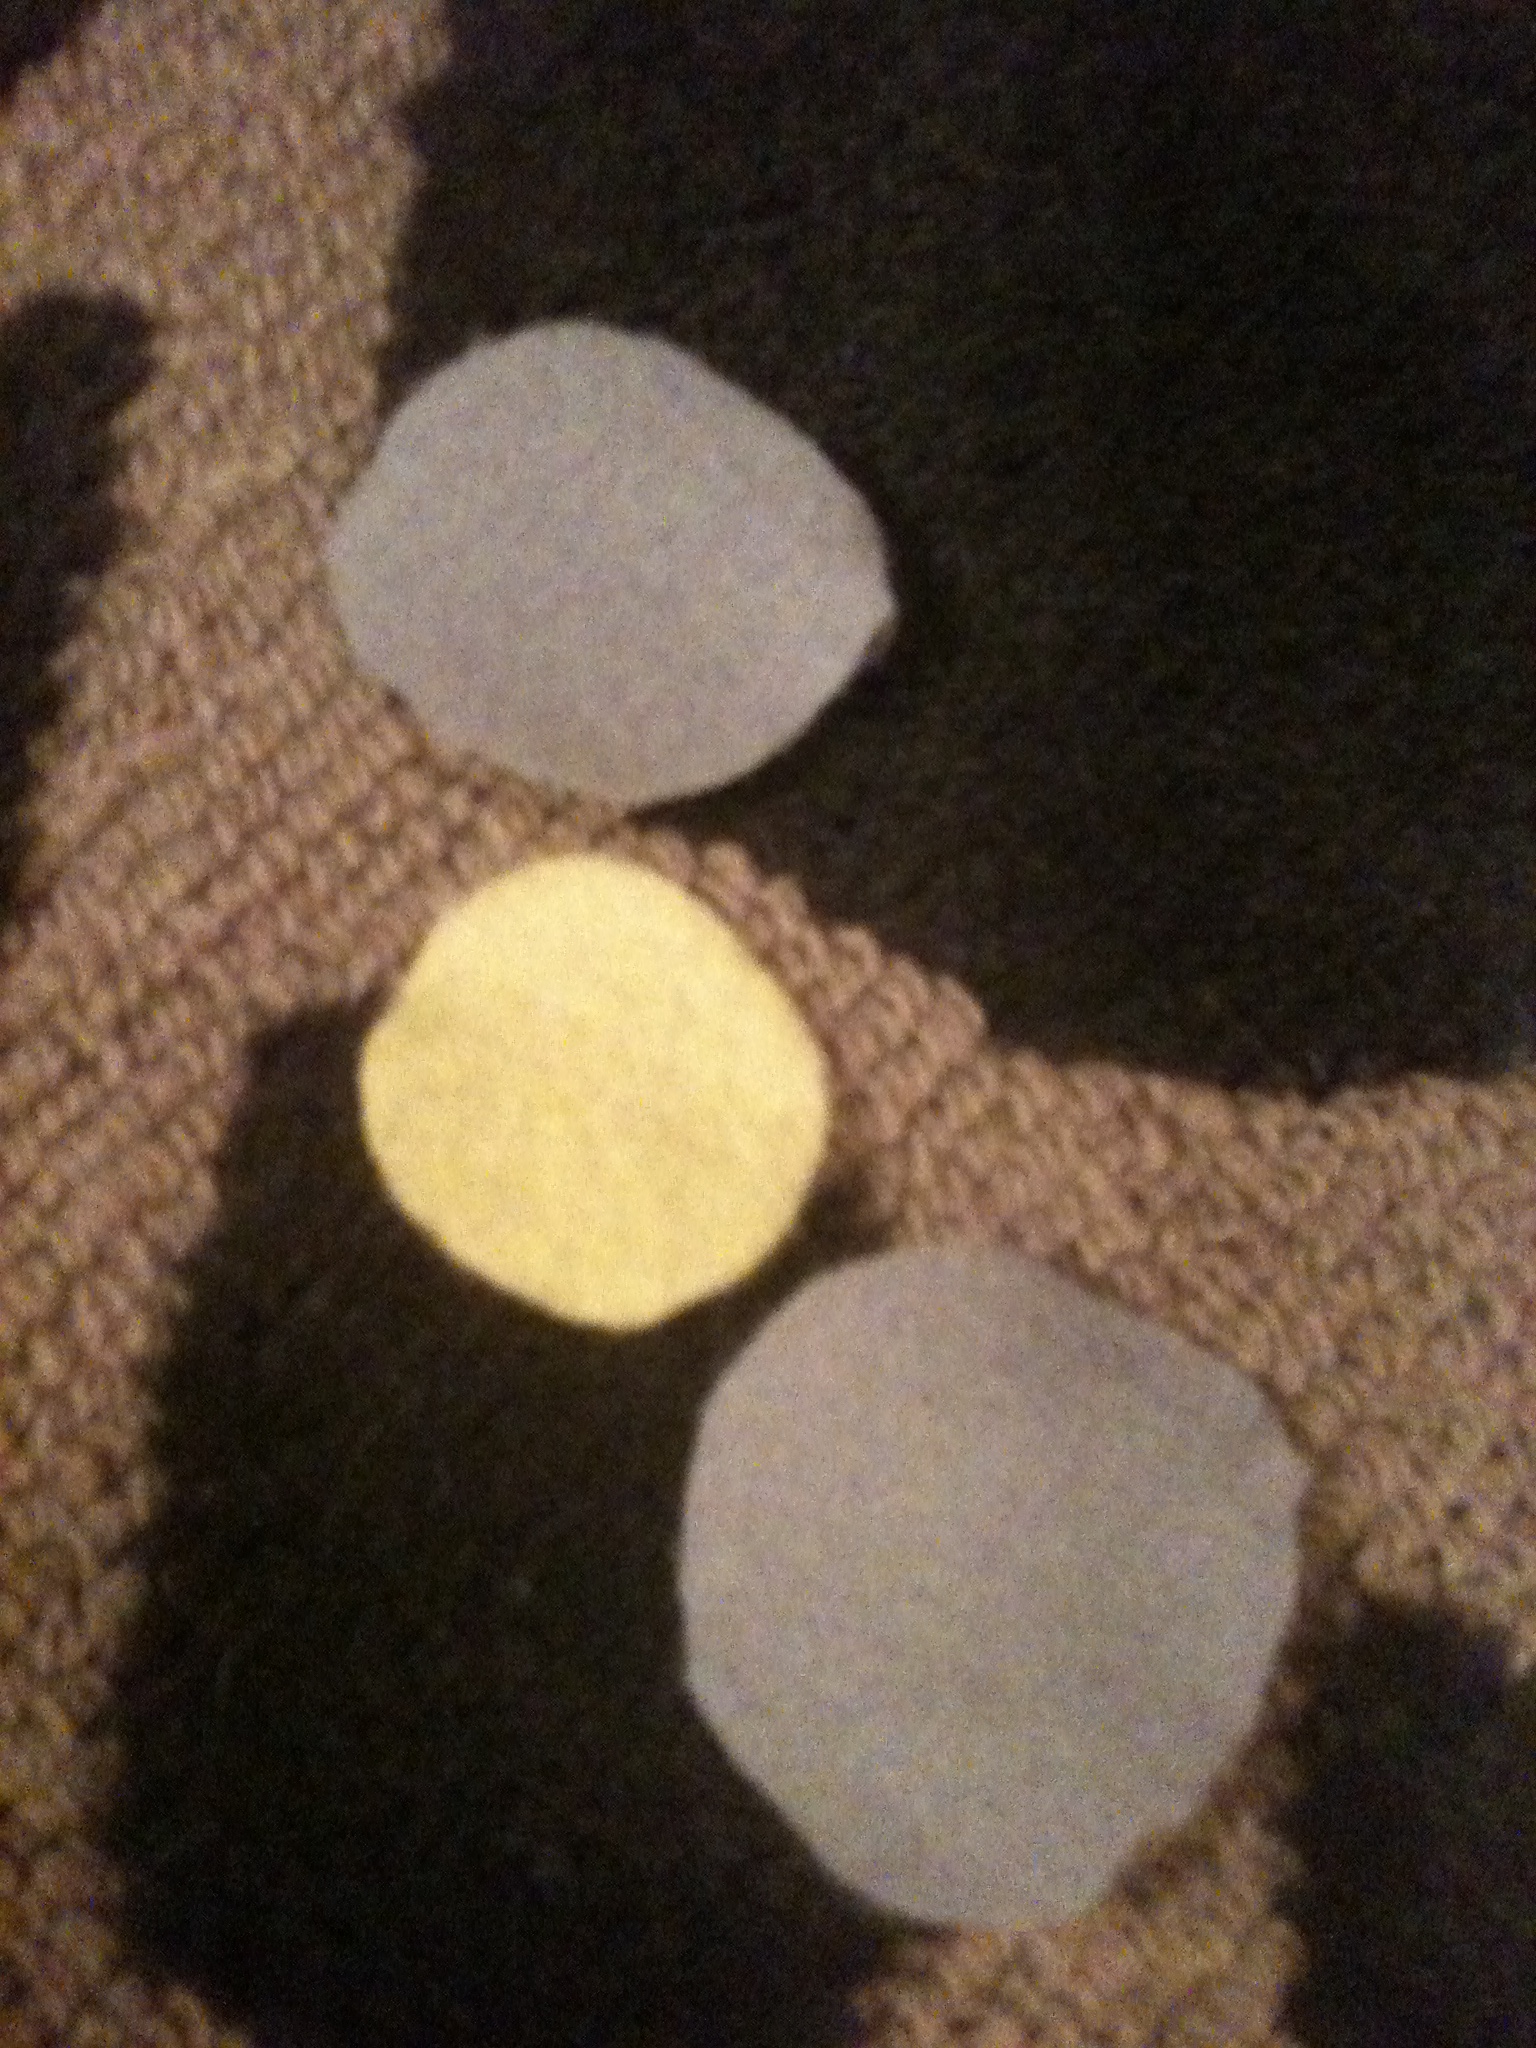
Step 2: Using scissors, cut circular shapes from the felt paper. I use circular loosely here because they do not need to be perfect. In fact, it adds character when they're not!


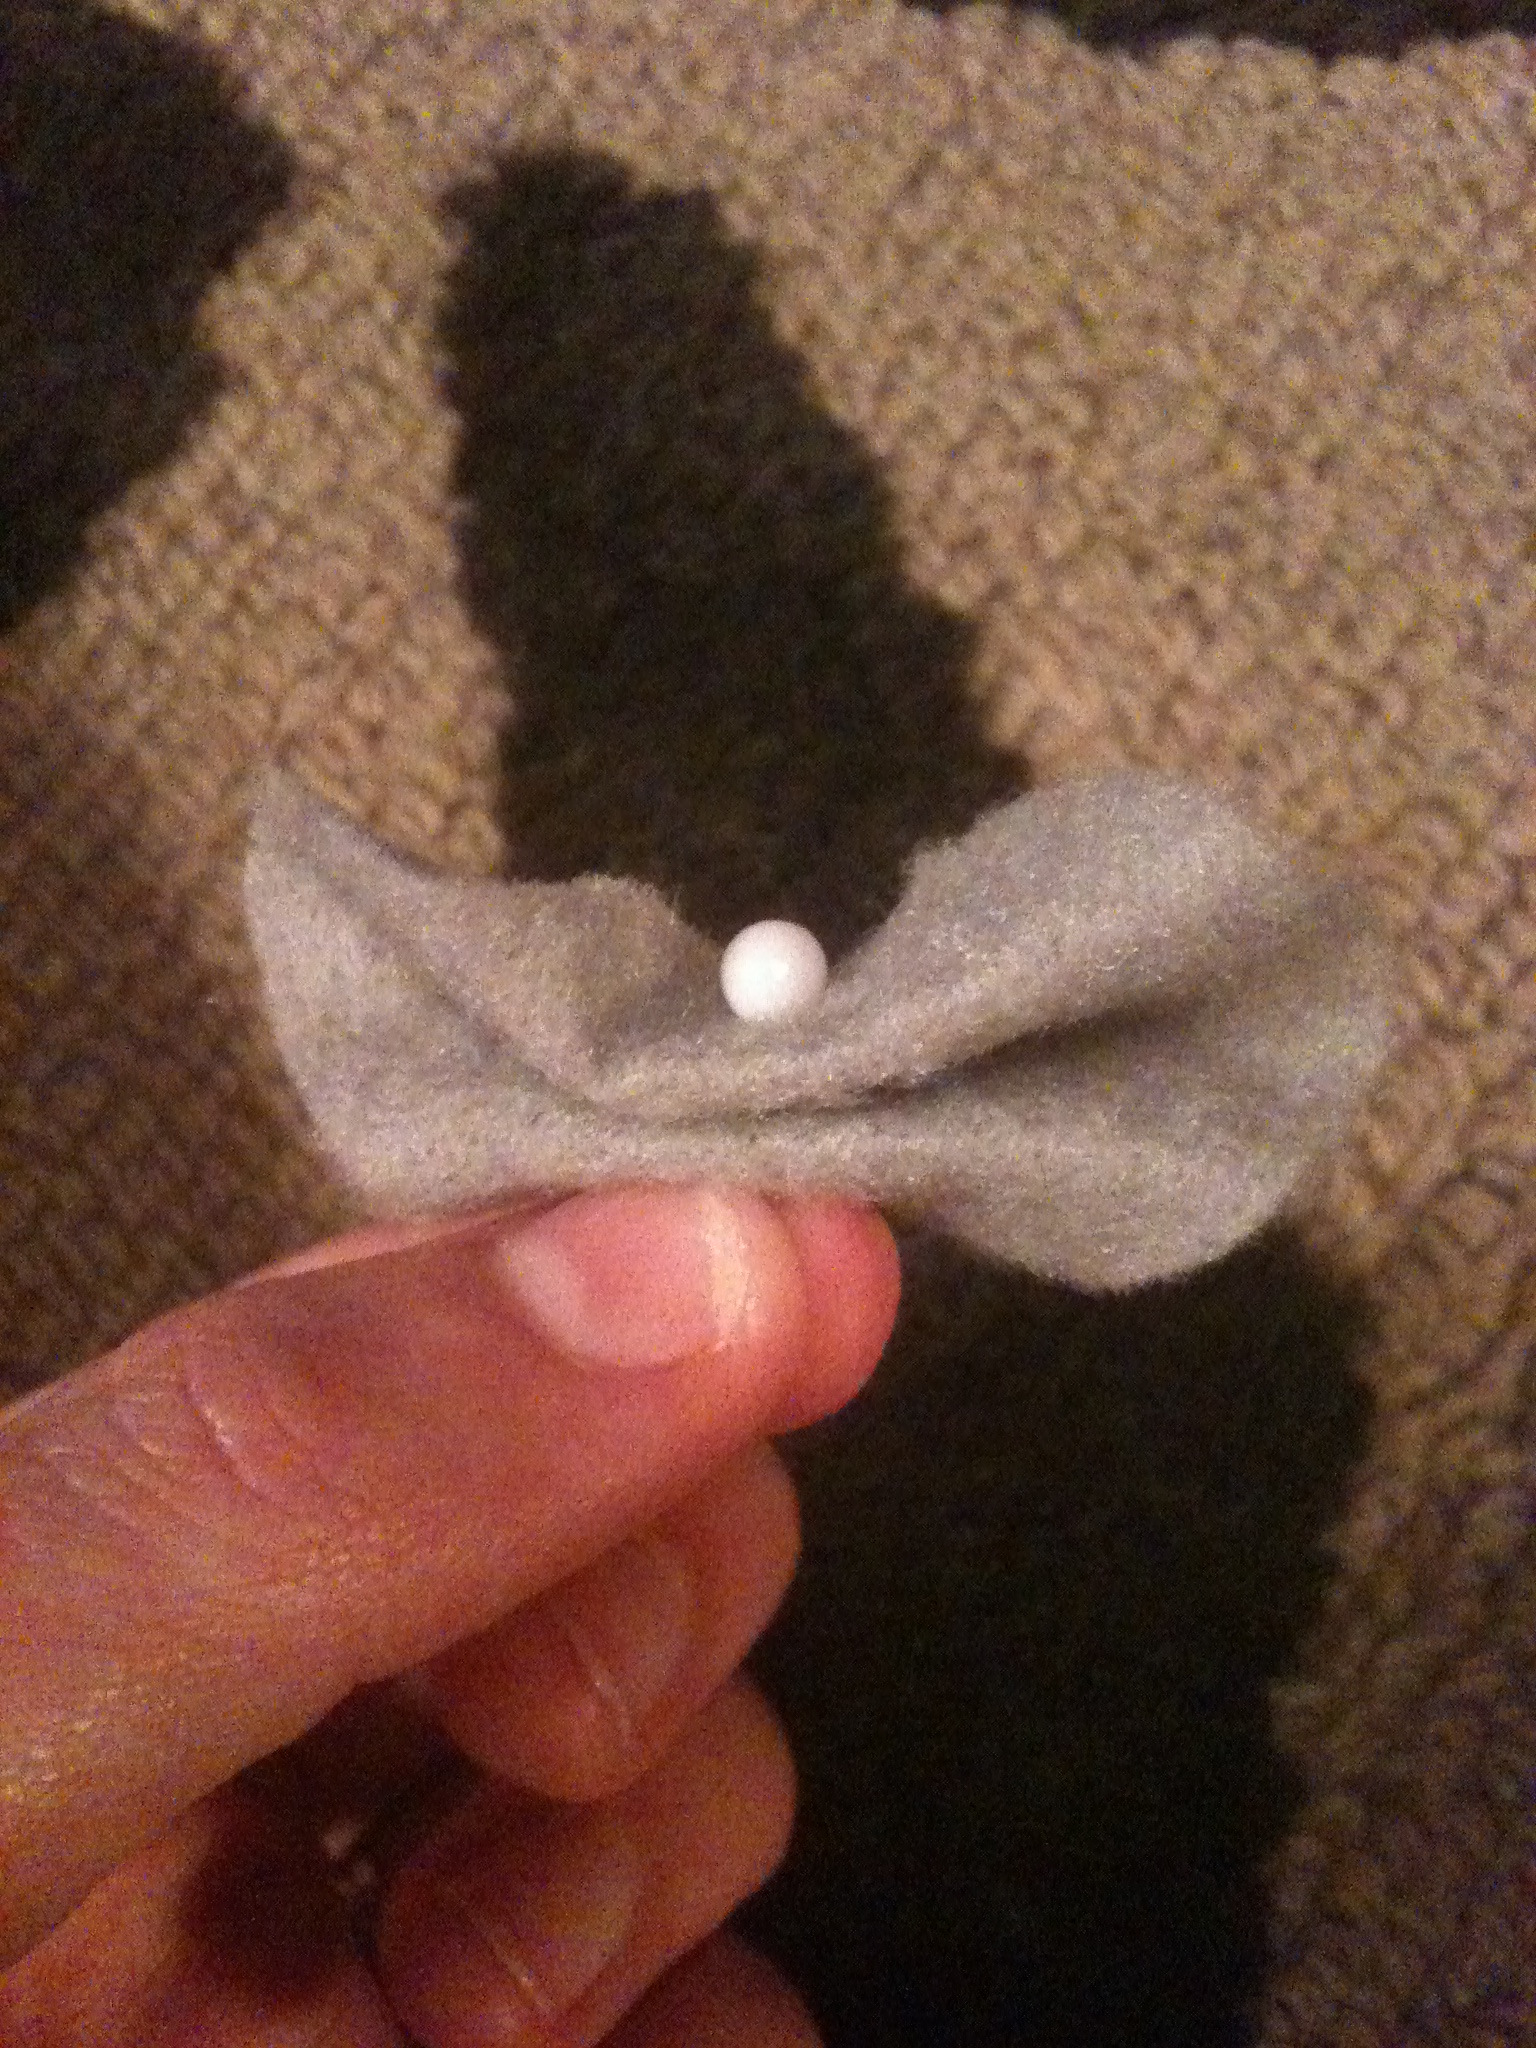
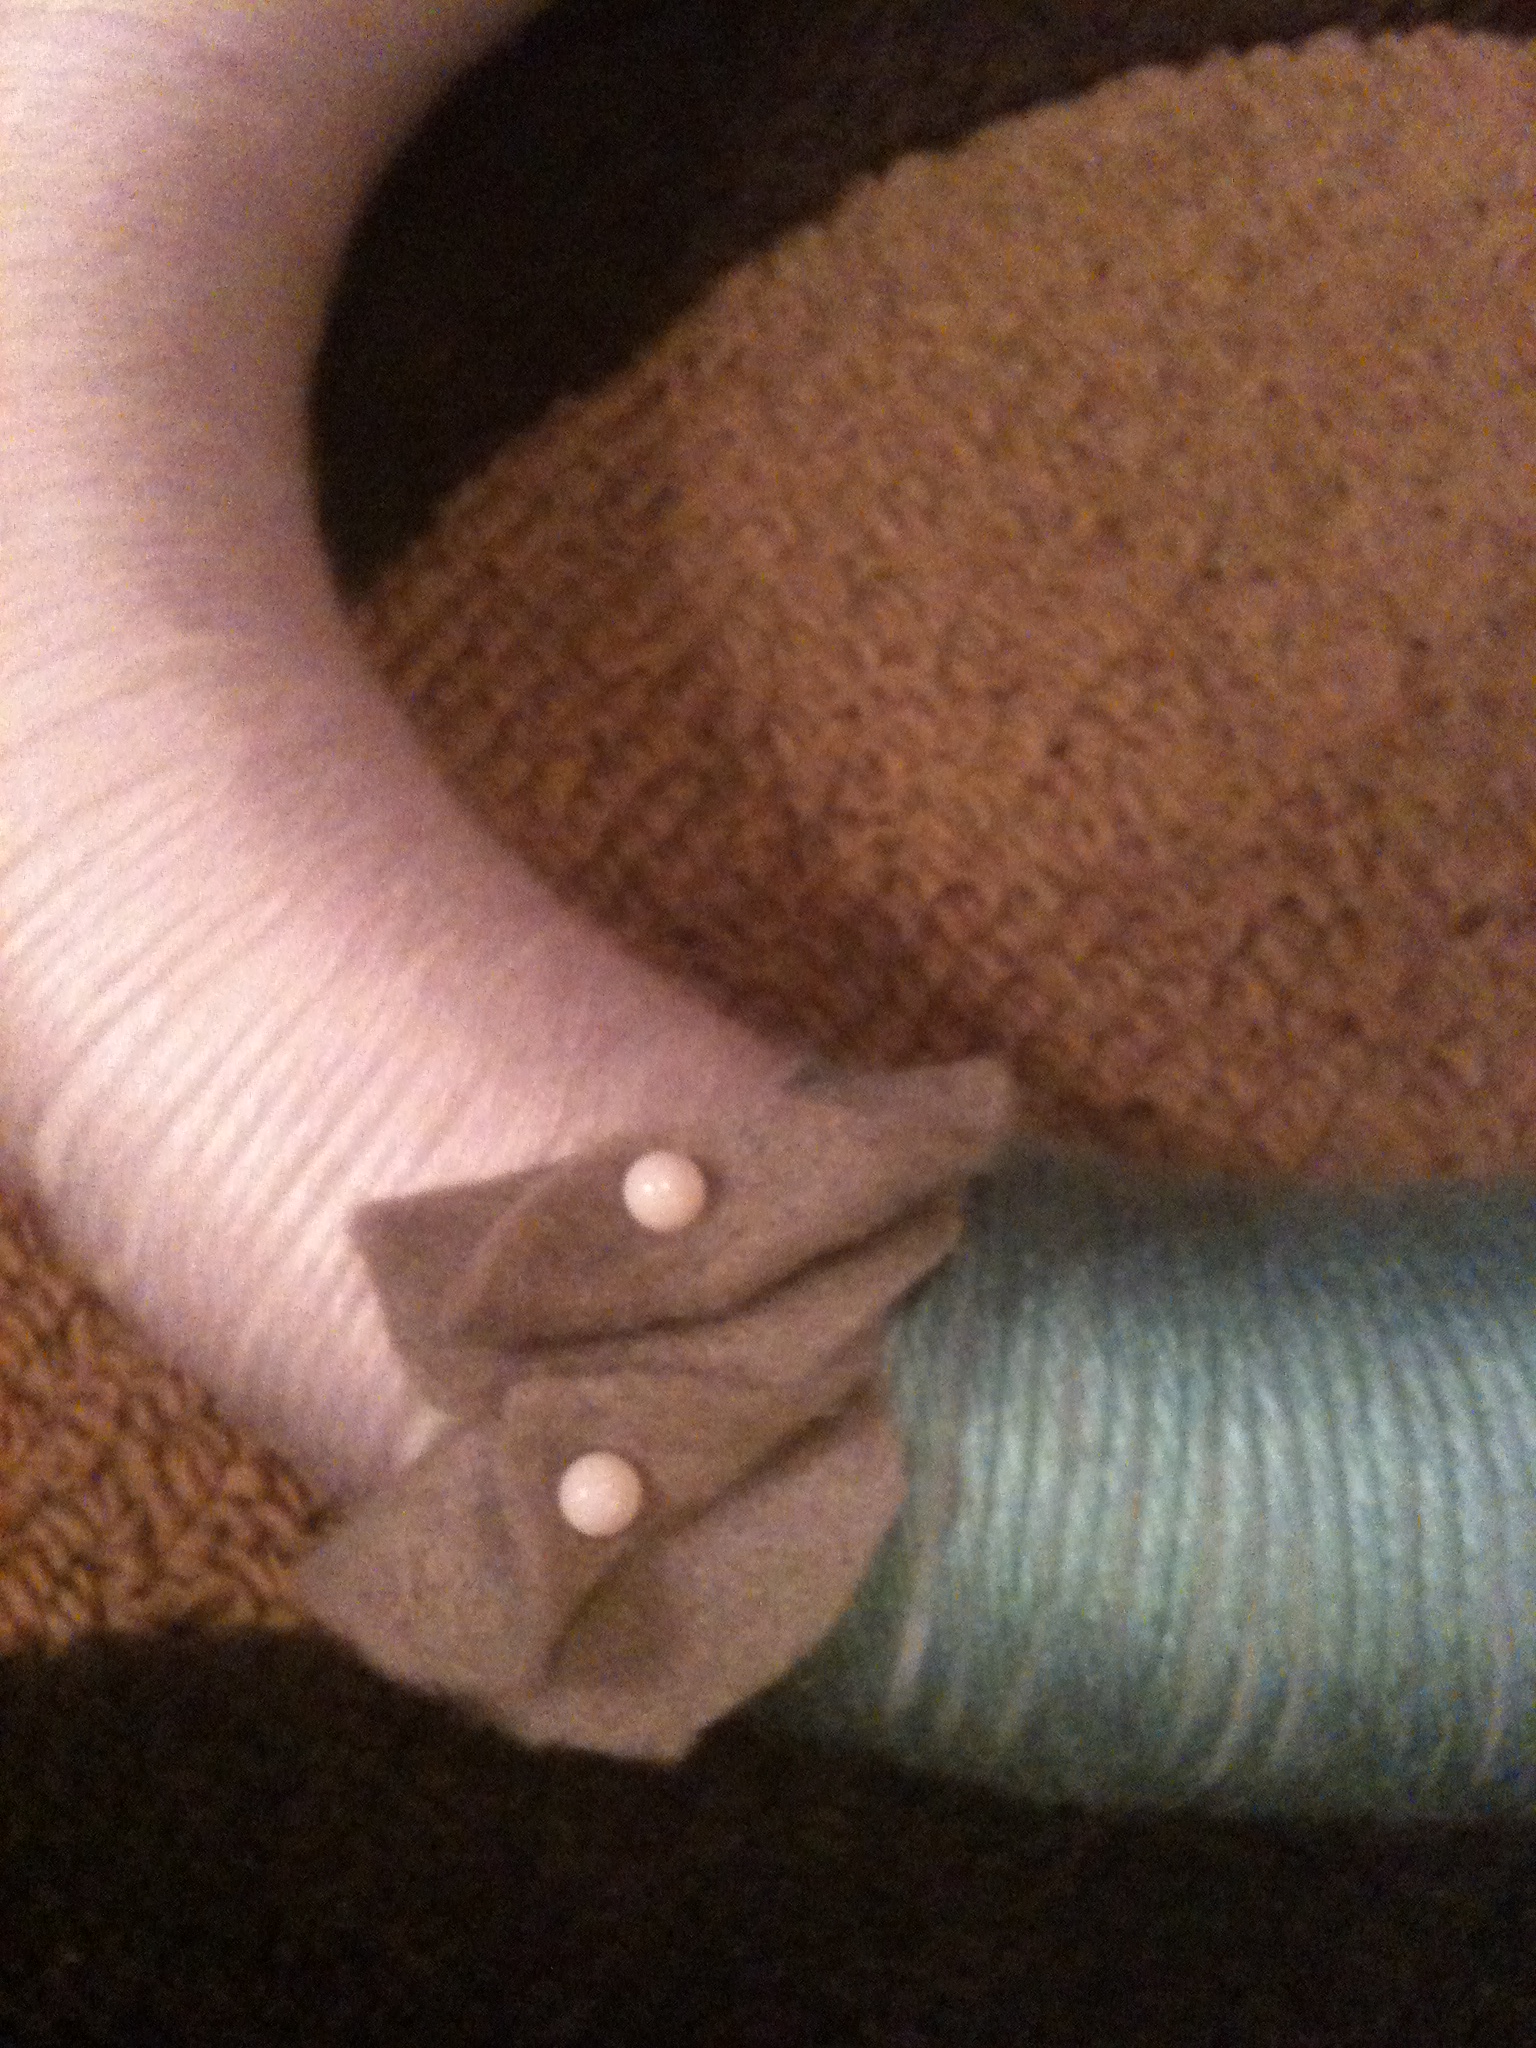
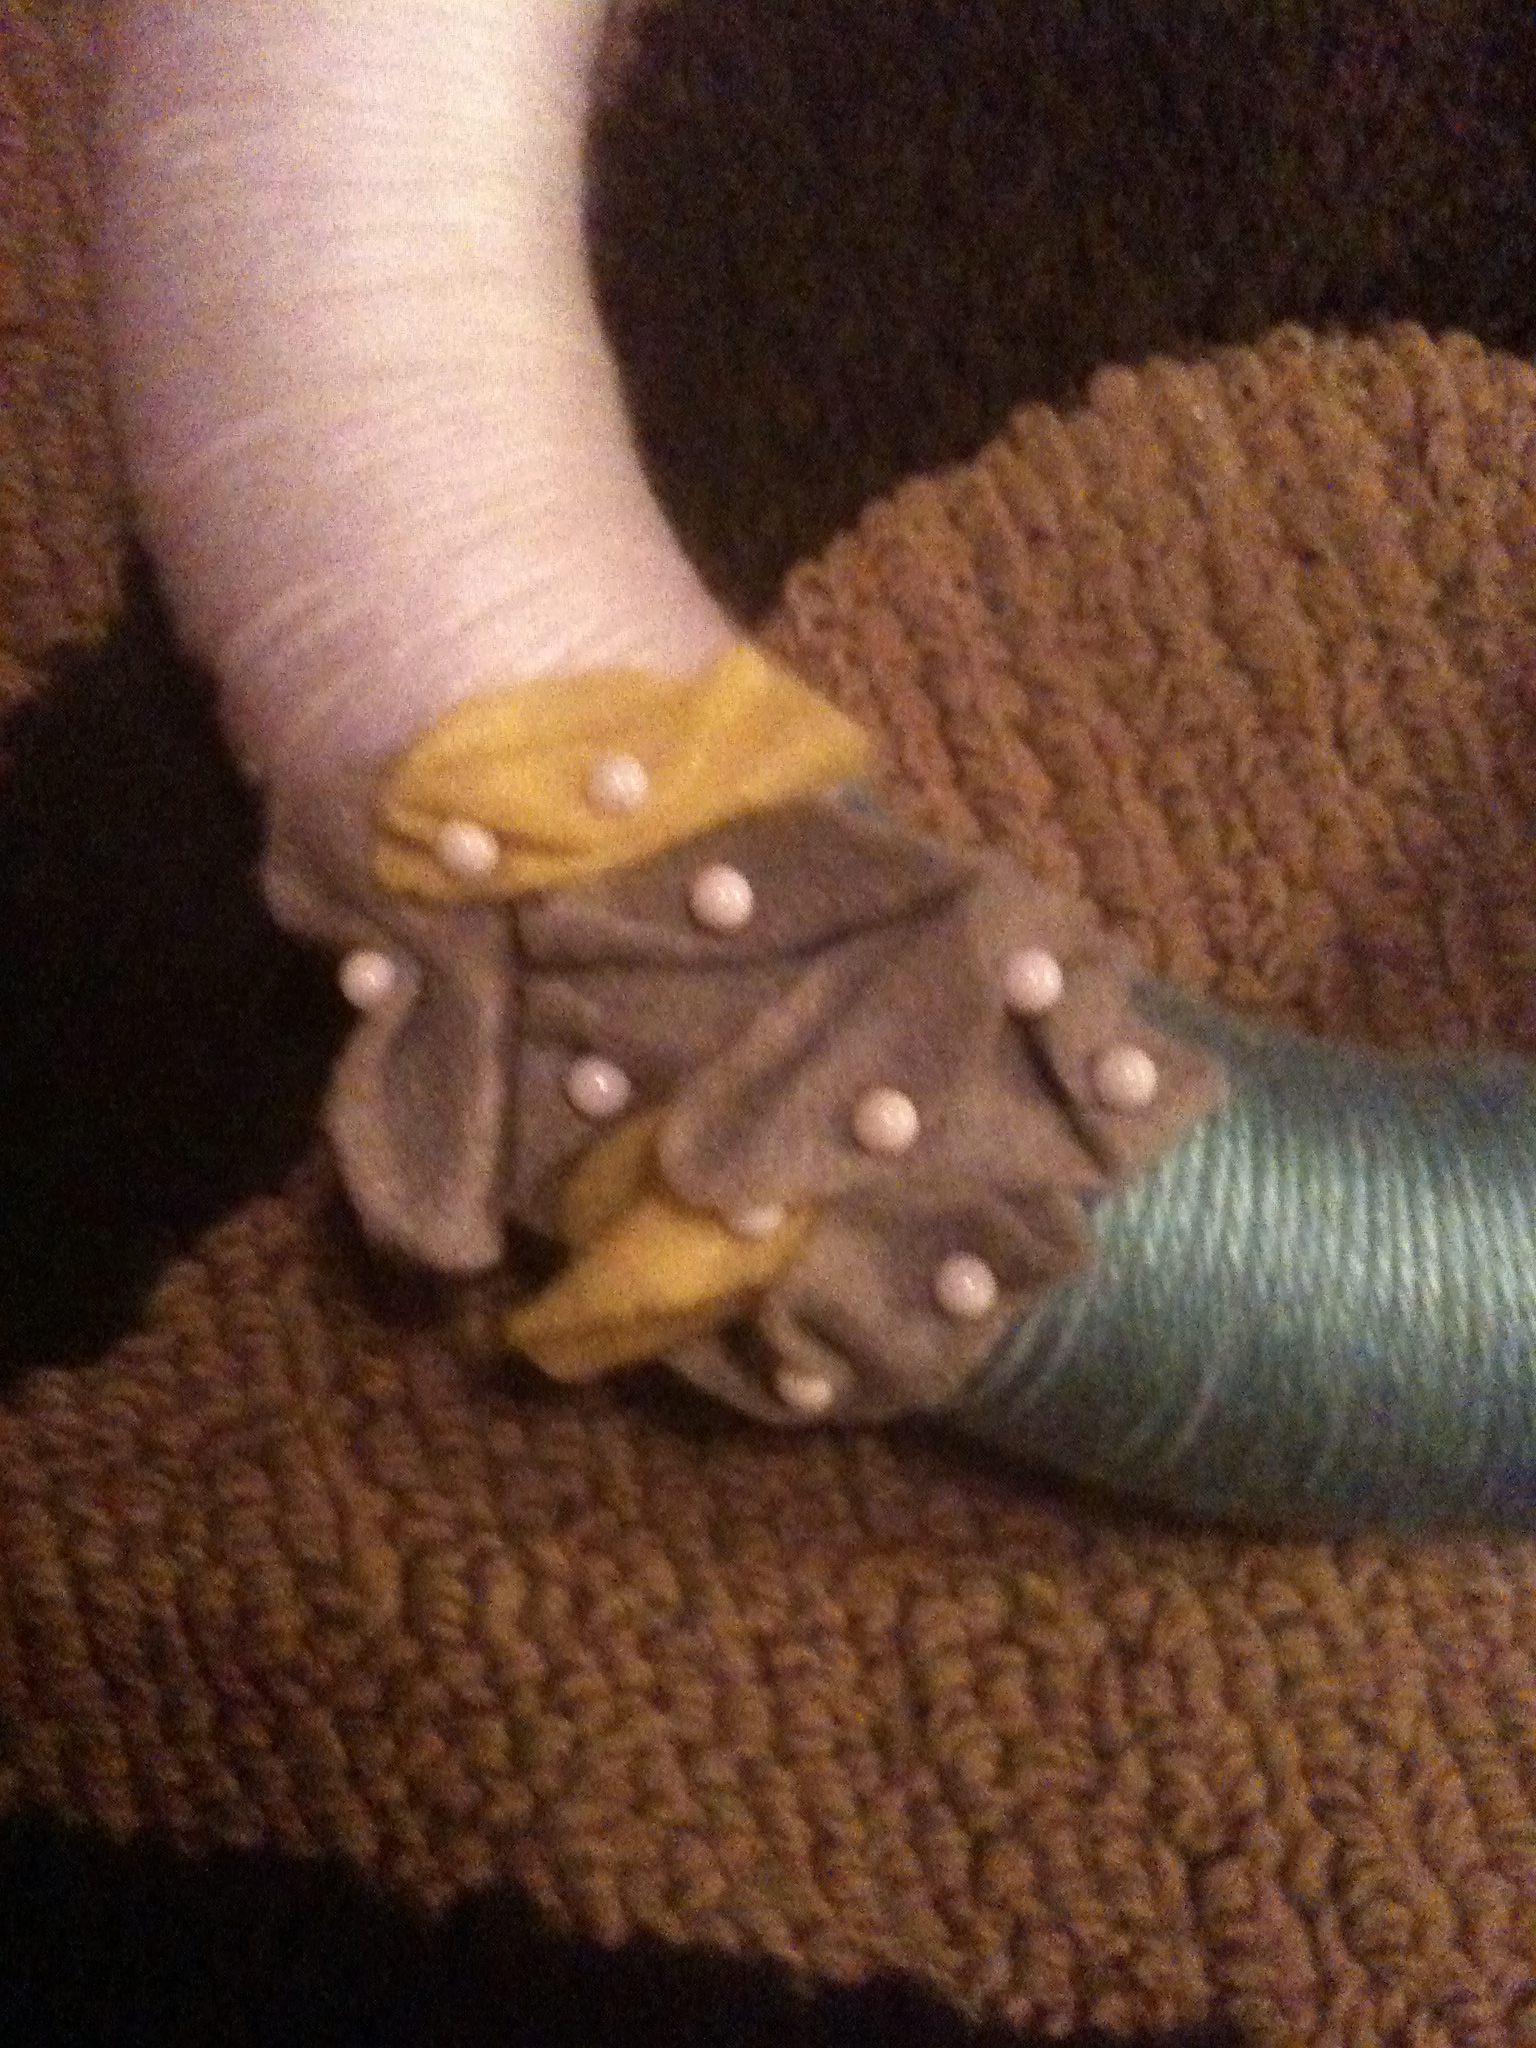
Step 3: Fold the circles like a fan crease two or three times and stick the pin through the folds, like so-


Be sure to buy the longer sized pins because mine were short and finicky to work with.

Step 4: Arrange your newly-made felt flowers to the wreath in any area of your choosing.


Step 5: Tie a ribbon around the top to hang and voila!


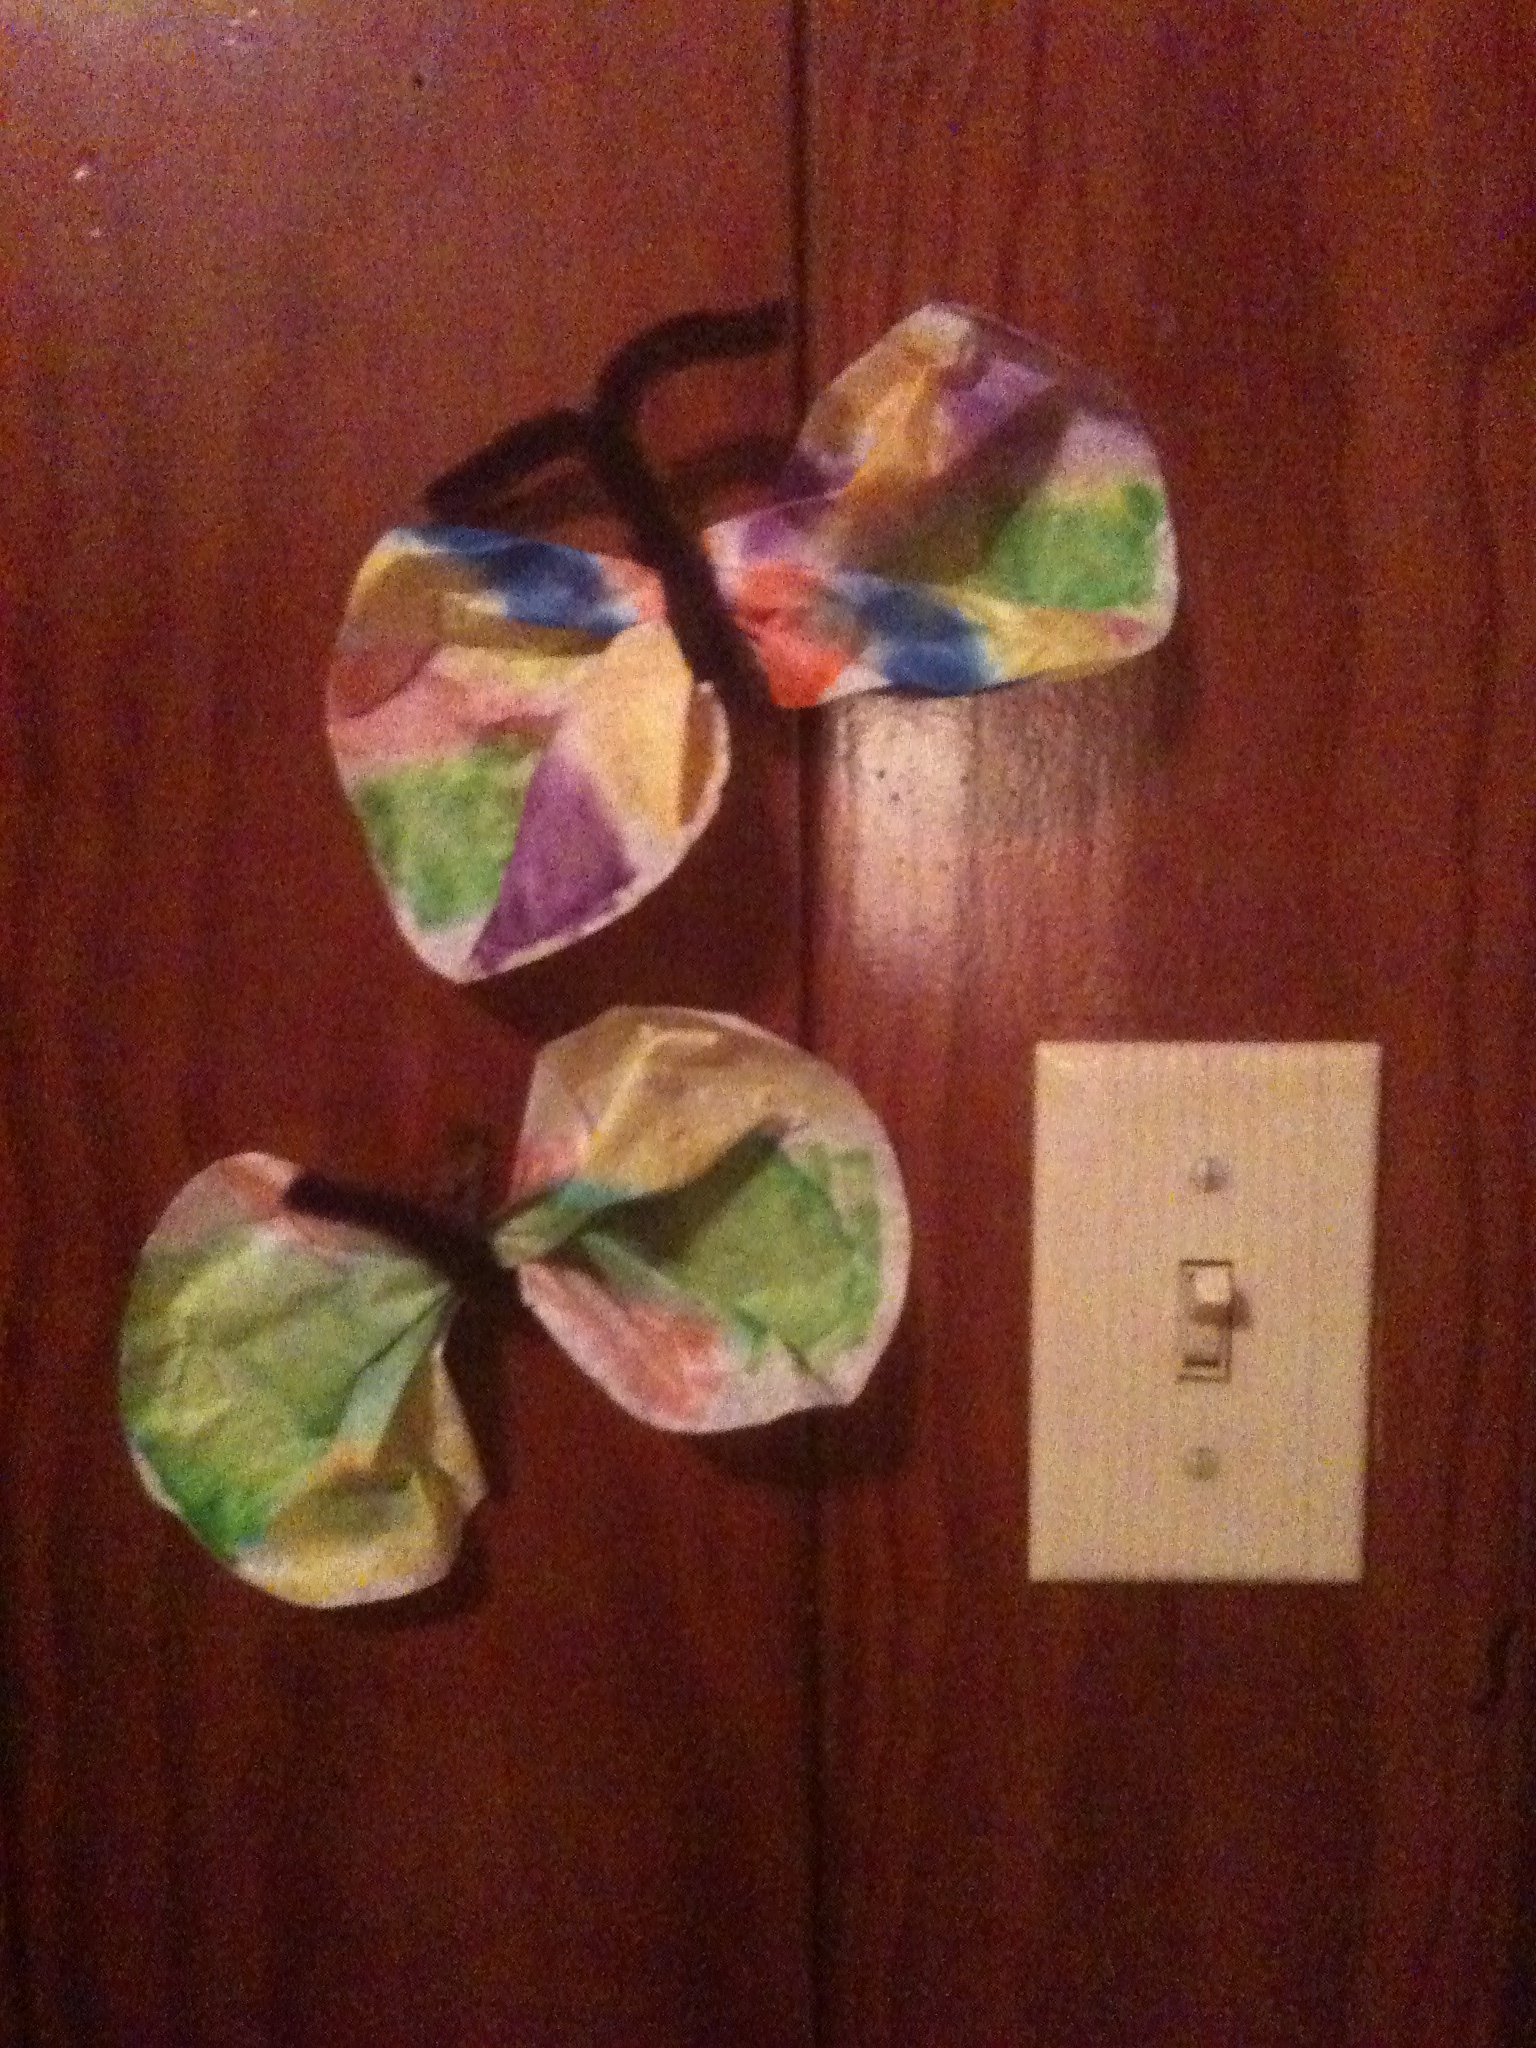
The other fun activity I did was creating coffee filter butterflies! This project is great for pre-school aged kids. There are plenty of tutorials out there that involve water colors, paint, etc. but I find this way to be much less messy. I have a TON of old coffee filters that we never use because we're french press kind of people so I wanted to try this out.

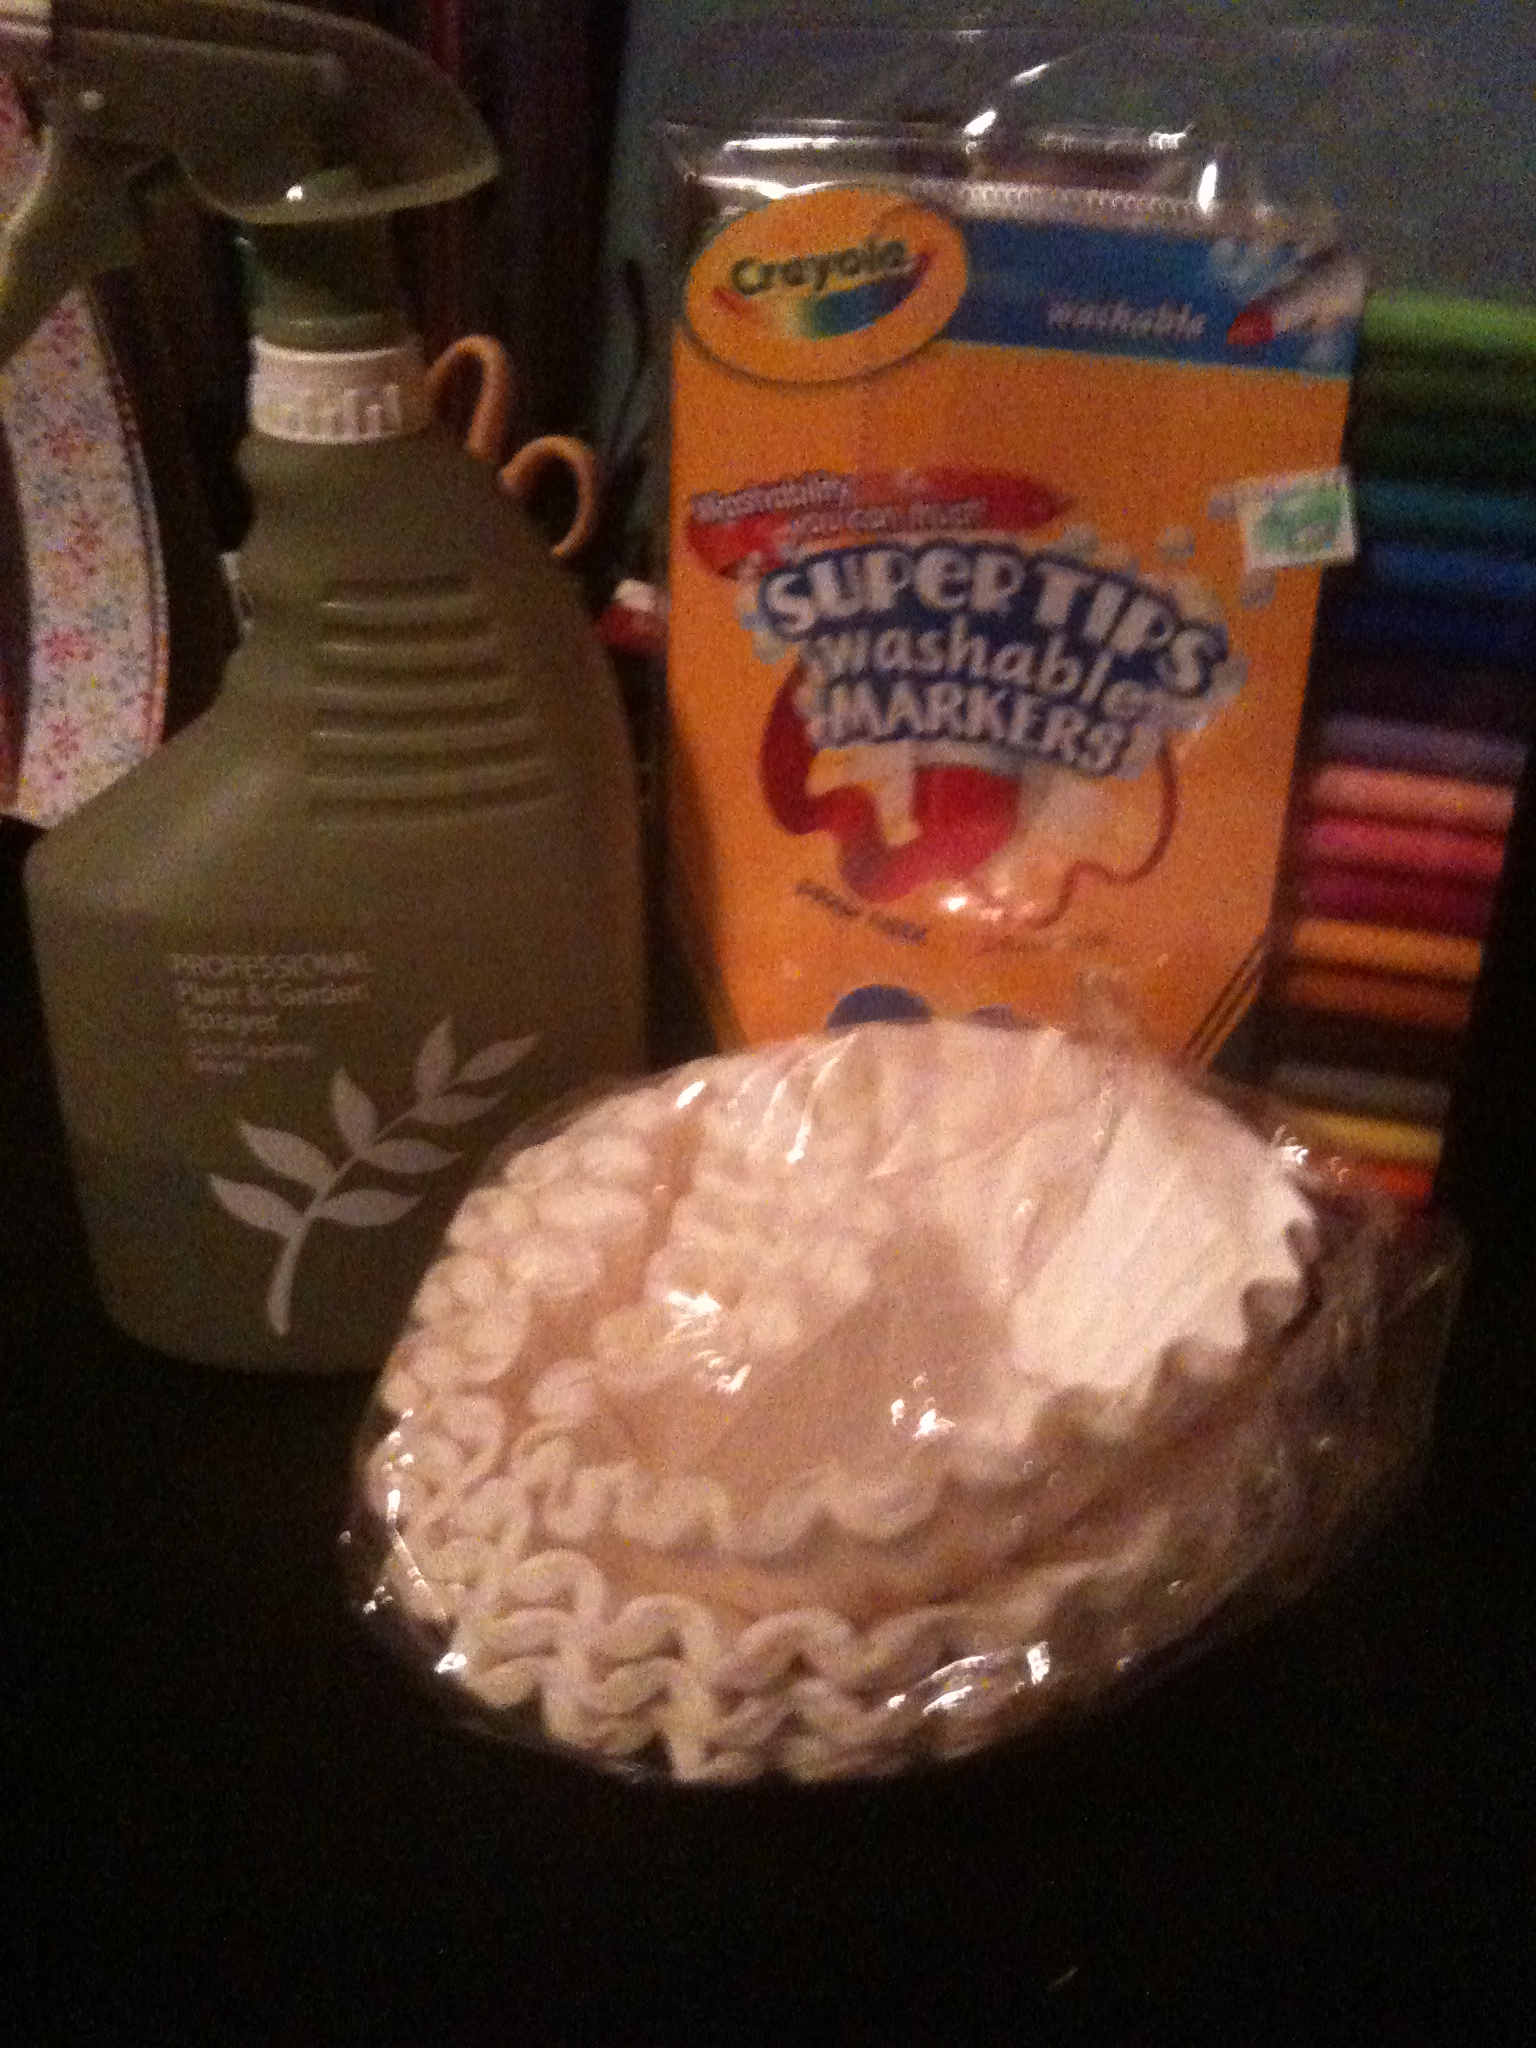
You'll need:


*Oh, and pipe cleaners. You'll want those! Some people use clothes pins, but I'm working with what I have.

Step 1: Have your child use the washable markers to color in portions of the filter in any way their little hearts desire. The coloring doesn't need to be complete necessarily. Squiggly lines will do just fine.

Step 2: Take a spray bottle full of water and squirt it 2-3 times in the middle of the filter, allowing the water to blend the colors together. Allow this to dry for about 20 minutes.

Step 3: Bunch the center of the filter with your fingers while fanning out the wings of the butterfly. You can secure this shape by wrapping the pipe cleaners around the middle. Bend the remaining to make it look like antanaes.


You can hang these in your child's room with fishing lure or tape them to the wall, whatever they wish!

And there you have it...crafts for the young and old(ish). As you can see, I had a wild Friday night. G'nite bloggy friends!


LinkWithin

Related Posts Plugin for WordPress, Blogger...
 
Blog Design by Freeborboleta Desings